With the evolution of cannabis cultivation, autoflowering seeds have become popular due to their rapid growth cycles and ease of cultivation. In this guide, we will explore how to grow autoflowering cannabis seeds step by step, ensuring good germination and successful flowering.
Seed selection and initial preparation
To begin, the choice of seed is crucial. Choose quality seeds from reliable sources. The first stage is germination; place your seed between layers of paper towels that are damp but not saturated with water. This process can take anywhere from 24 hours to a few days. Make sure the paper stays damp throughout this time without being submerged in water.
Planting and first aid
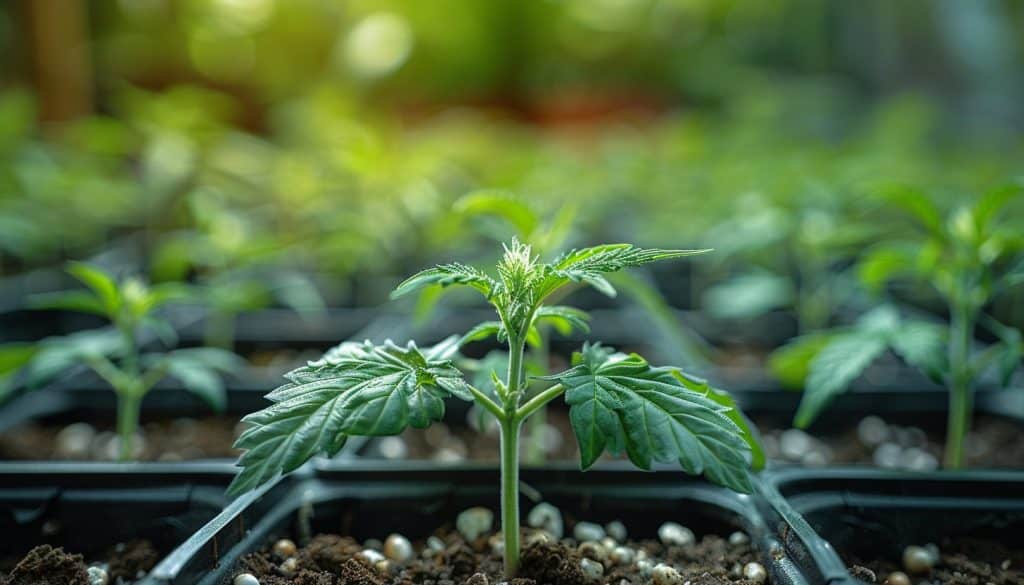
Once the roots are visible, it is time to plant. Use a jar with good drainage filled with rich loam. Plant the germinated seed very carefully without burying the stem too much to avoid rot. The first weeks are vital, because the young plant is sensitive to stress. Regular but moderate watering is recommended to keep the soil slightly moist.
Managing the growth environment
The environment plays a key role in the development of your autoflowering plants. A stable temperature around 20-25°C and a relative humidity of around 70% promote optimal growth during the initial phases. Keep your plants in a location where they will receive at least 18 hours of light per day. To simulate ideal conditions, you can use lamps specifically designed for indoor growing.
Light optimization
The amount and type of light is crucial to the performance of autoflowering cannabis plants. Plants need a lot of light especially when they do not depend on the outside light cycle to flower. Using suitable LEDs or HPS can significantly increase your efficiency.
Reduce transplant-induced stress
Unlike regular varieties, autoflowers do not appreciate the repotting because this can induce considerable stress which can delay their development. It is advisable to plant directly in the final pot or use a biodegradable pot that can be transferred to a larger one without disturbing the roots.
Care during the flowering phase
Autoflowering cannabis plants typically begin flowering around three to four weeks after germination, regardless of light conditions. At this stage, modify the proportion of nutrients, increasing the share of phosphorus and potassium to support floral development. Reduce nitrogen which was vital during the vegetative growth phase.
Nutrient monitoring and adaptation
Diet plays a major role in the overall health and productivity of plants. An excess or deficit of nutrients can seriously affect bud quality. Applying a specific fertilizer according to the growth phases helps maximize results.
Optimal watering for abundant flowering
Proper watering is just as crucial during flowering. The substrate should be kept moist but not soggy. Be sure to adjust the frequency and quantity of water by carefully observing the condition of your soil and the surrounding climate.
Maintaining a favorable post-flowering environment
Even after flowering, vigilance remains essential. Maintain constant monitoring for signs of disease or pest problems. A clean, controlled environment helps prevent these problems and ensures proper ripening of the buds.
Precautions against pests and diseases
Make regular visual inspections of your plants looking for alarming signs like yellowed leaves or insect marks. If detected, use appropriate biological control methods or insecticides that will not harm the final quality of the product.
Pruning techniques for better ventilation
Pruning lower leaves can help improve air circulation around the nodes, thereby reducing humidity and minimizing the risk of fungal disease. This technique also encourages better light penetration, which is particularly beneficial at this late growth phase.


